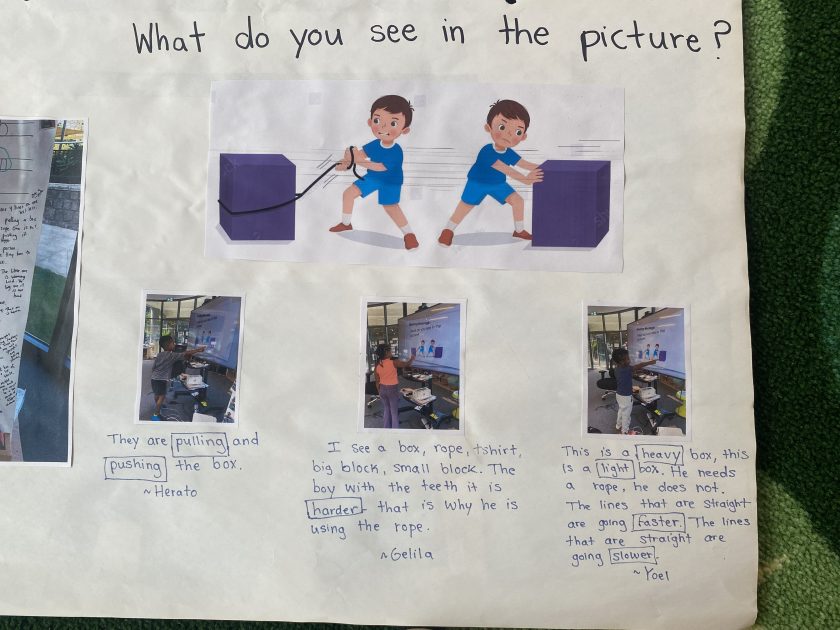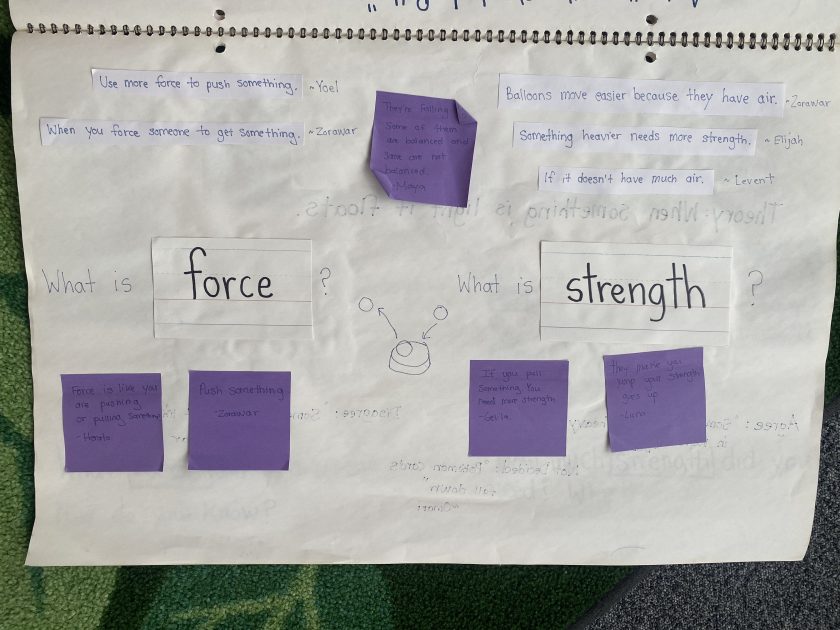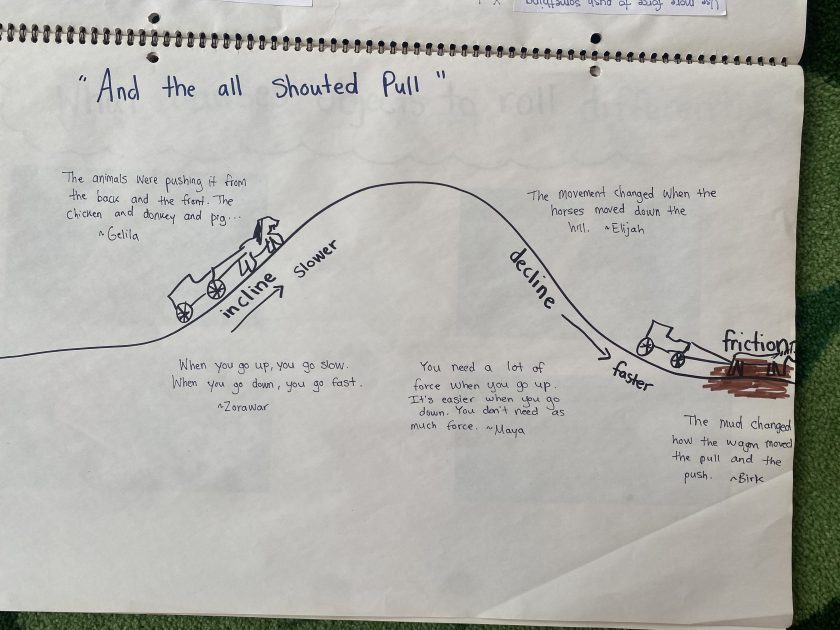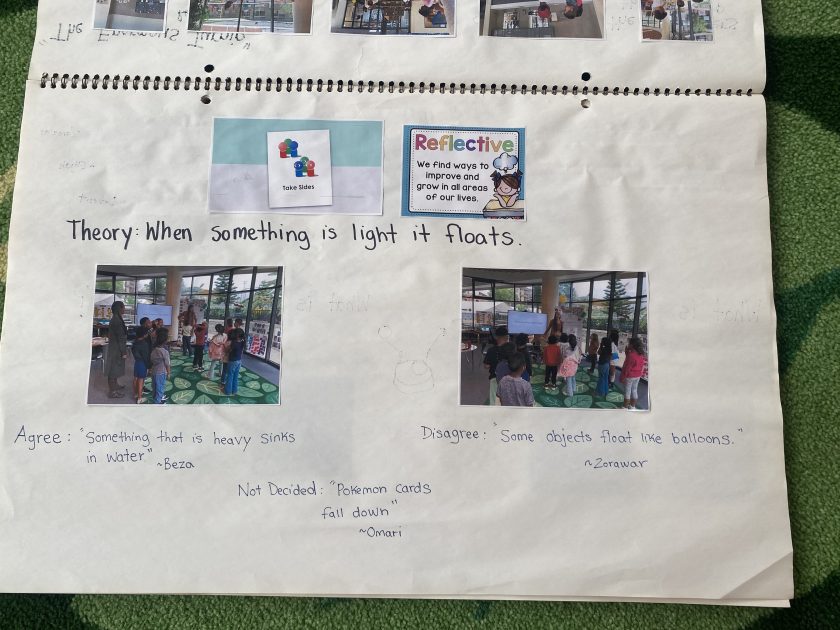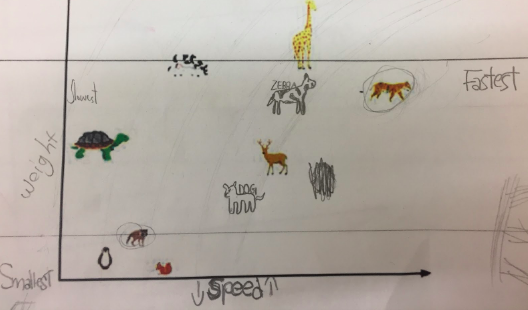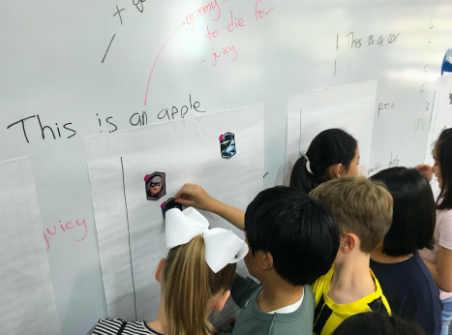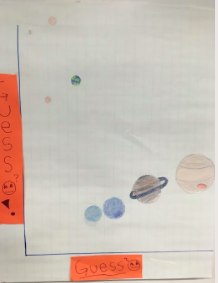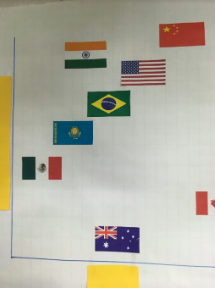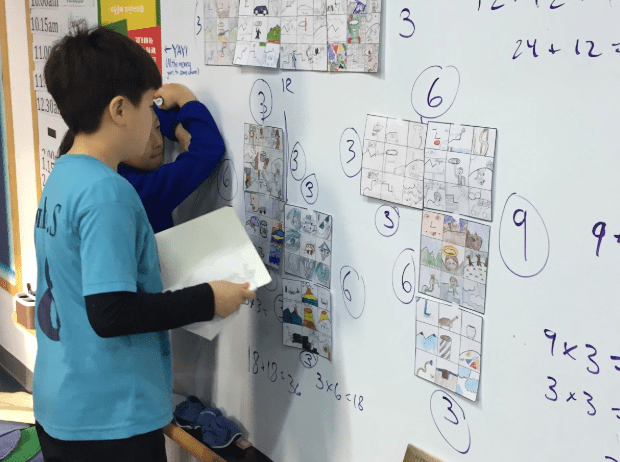
Before I answer the question of how to make a unit documentation book, let me first share a little about what a unit documentation book is. A documentation book shows the flow of the unit over time from the beginning to the end of the student’s journey and engagement with a Unit of Inquiry. It is a place for photos, writing, ideas, and wonderings to be recorded, and it is a shared space between the students and the teacher. It is visual and portable: a tool for learning. There is no “right way” to make a unit documentation book, and therefore in labeling this post “how to make” my intention is simply to inspire creativity and share in the various ways I’ve used this type of book. The most important thing is that this book becomes a meaningful canvas for learning to happen.
There’s really only two steps in the how-
Choose your canvas: I’ve found an oversize poster paper book works well as it is easy for students to see during carpet time and large enough for multiple students to use at the same time during other engagements.
Visually document your unit of inquiry, starting from the beginning. Here’s where the magic happens- where true creativity can occur to construct meaning. The options for documenting are endless but here are some you might consider using for your unit documentation book.
- Document Quotes After an Engagement
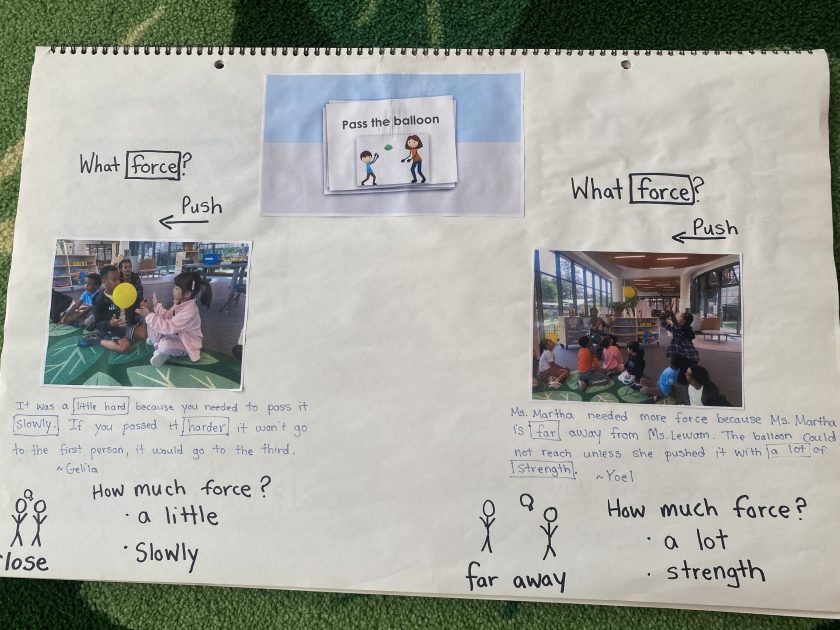
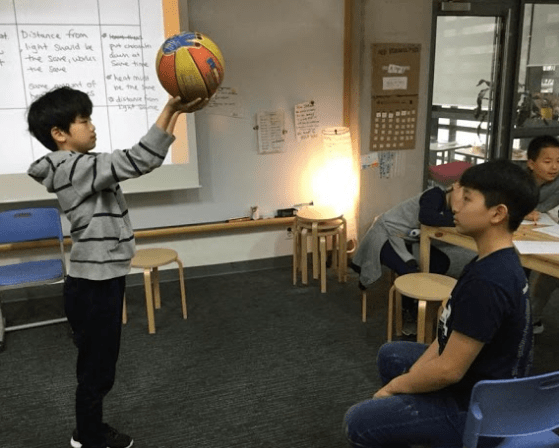
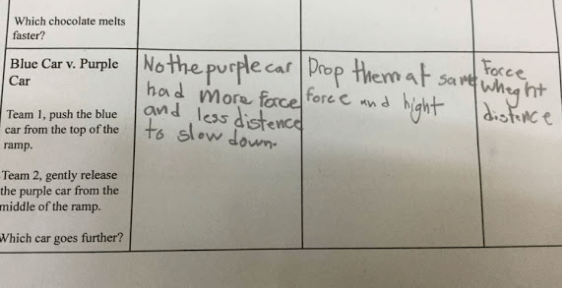
Document students ideas as visual quotes after a learning engagement. The learning engagement could be independent learning time (such as open inquiry) or it could be a group lesson where students demonstrated understanding of a topic. Reflect with the students on their learning as a class community, discuss how each quote connects to the key or related concepts from the unit. Visually mark the related concepts and use photos to support student understanding.
2. Unpack Unit Concepts Together
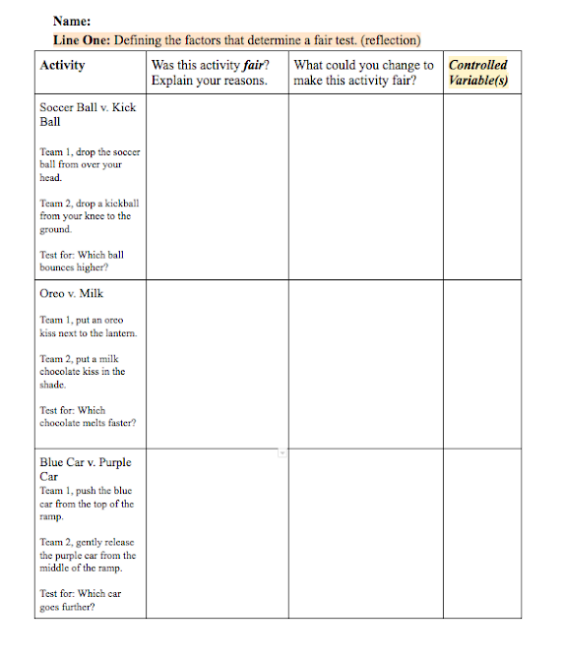
Unpack unit concepts, compare them and/or define them together. Record student examples and ideas to review a concept and the come up with a class definition or use a students idea as a definition for the team. Discuss with students the similarities and differences of the terms.
3. Map a Main Idea or Storyline
Review the main idea or learning from a text read together. After reading a story together connected to the unit, consider what new vocabulary or concept you want students to understand. In the picture on the right, I wanted my students to between understand what causes an object to change the way it is moving.
4. Explore a Learning Theory
Unpack a learning theory together. For a theory that students are particularly challenged by, write it down and reflect together considering all perspectives. Consider first playing the game, “take sides” where students stand on one side of the carpet if they agree with the statement, the other side of the carpet if they disagree with the statement or in the middle if they are undecided. Afterwards make the learning visual and reflect further!
5. Do a little bit of everything!
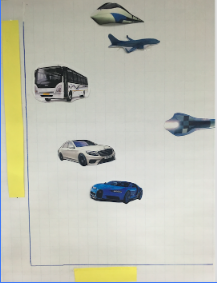
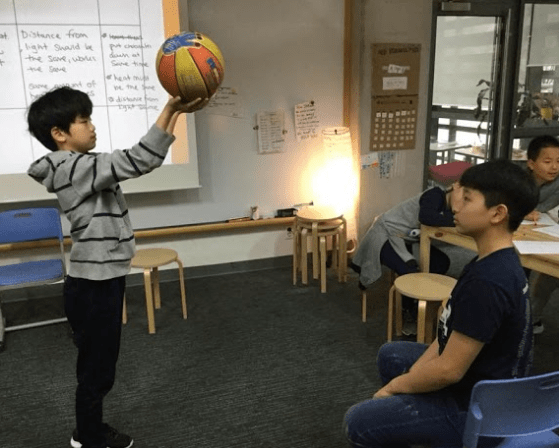
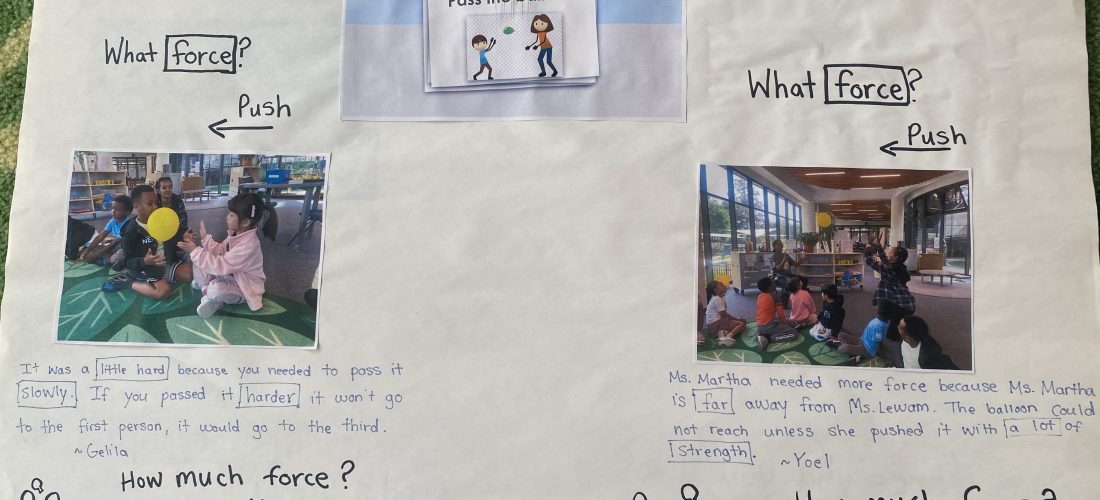
Again there is no right way or wrong way to use this type of book. On this page on the right I started by showing the students the direction of the “push” force. One of the pushes shows a short distance for an object to move, the other push shows a longer distance for the object to move. Students described these pushes in different ways, however no student used the word “distance” therefore this was our “pre-learning” page on distance, to come back to once students deepened their understanding of how distance can impact forces.